Off-Grid Wood Stove Installation guide
Off grid wood stove installation guide: A wood stove can make an off-grid cabin feel secure in a way no app-controlled heater ever will. When the power is out, the road is iced over, and the house is quiet except for the fire, a good stove feels like independence you can warm your hands over.

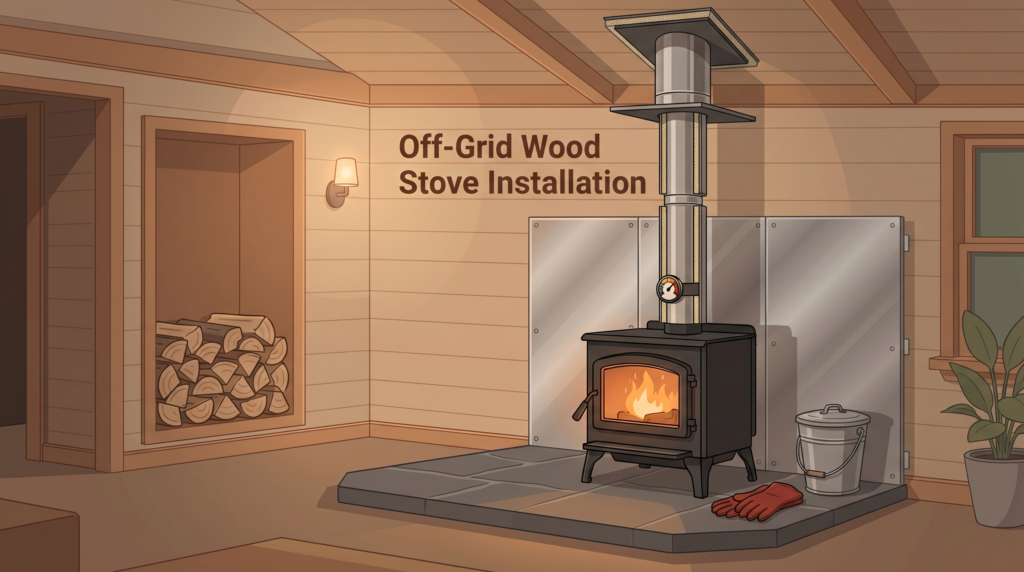
But an off-grid wood stove installation is not just a stove in a corner with a pipe through the roof. It is a heating system, a fire safety system, a chimney system, and sometimes an insurance conversation. Done well, it can heat a home for decades. Done casually, it can put the whole cabin at risk.
This guide covers cost, clearances, chimney planning, real mistakes, and the practical details homesteaders should understand before cutting a hole in the ceiling.
Start With the Stove, Space, and Heat Need
The first decision is not brand. It is size. A stove that is too small will run hard all winter. A stove that is too large will be damped down constantly, burn dirty, and make the cabin swing from chilly to unbearable.
Think about square footage, insulation, ceiling height, climate, layout, and how often you are home to feed the fire. A tight 700-square-foot cabin in Tennessee does not need the same stove as a drafty 1,500-square-foot farmhouse in northern Maine.
The U.S. Department of Energy’s wood and pellet heating guidance notes that wood-burning systems should be inspected before each heating season and operated with proper maintenance. That may sound basic, but it is where safe wood heat begins.
EPA-certified vs old stoves
Modern EPA-certified wood stoves burn cleaner and more efficiently than old smoke-heavy boxes. They usually need dry wood, proper draft, and correct operation to perform well. An old stove bought cheap at a farm auction can seem like a bargain until you price the chimney, hearth, clearances, and insurance concerns.
If you are building a long-term homestead heating plan, buy a listed stove with a manual you can actually read. The manual controls clearances, chimney requirements, floor protection, and installation details.
For broader heating and firewood skills, our off-grid skills and homestead tips guide covers why firewood planning matters as much as the stove itself.
Realistic Cost of Installing a Wood Stove
The stove is only one line item. Many first-time buyers price the stove and forget the chimney system, hearth pad, roof flashing, wall protection, tools, permits, and labor.
A basic installation may include:
- Wood stove or cookstove.
- Stovepipe from stove to ceiling or wall transition.
- Class A insulated chimney through ceiling, attic, and roof.
- Ceiling support box, roof flashing, storm collar, and chimney cap.
- Hearth pad and possible wall heat shields.
- Permits, inspection, and professional labor if required.
For a simple straight-up installation, the chimney parts can cost as much as the stove. For a tricky roofline, cathedral ceiling, or wall exit with elbows, the price climbs fast. Elbows also reduce draft, so cheaper routing is not always better.
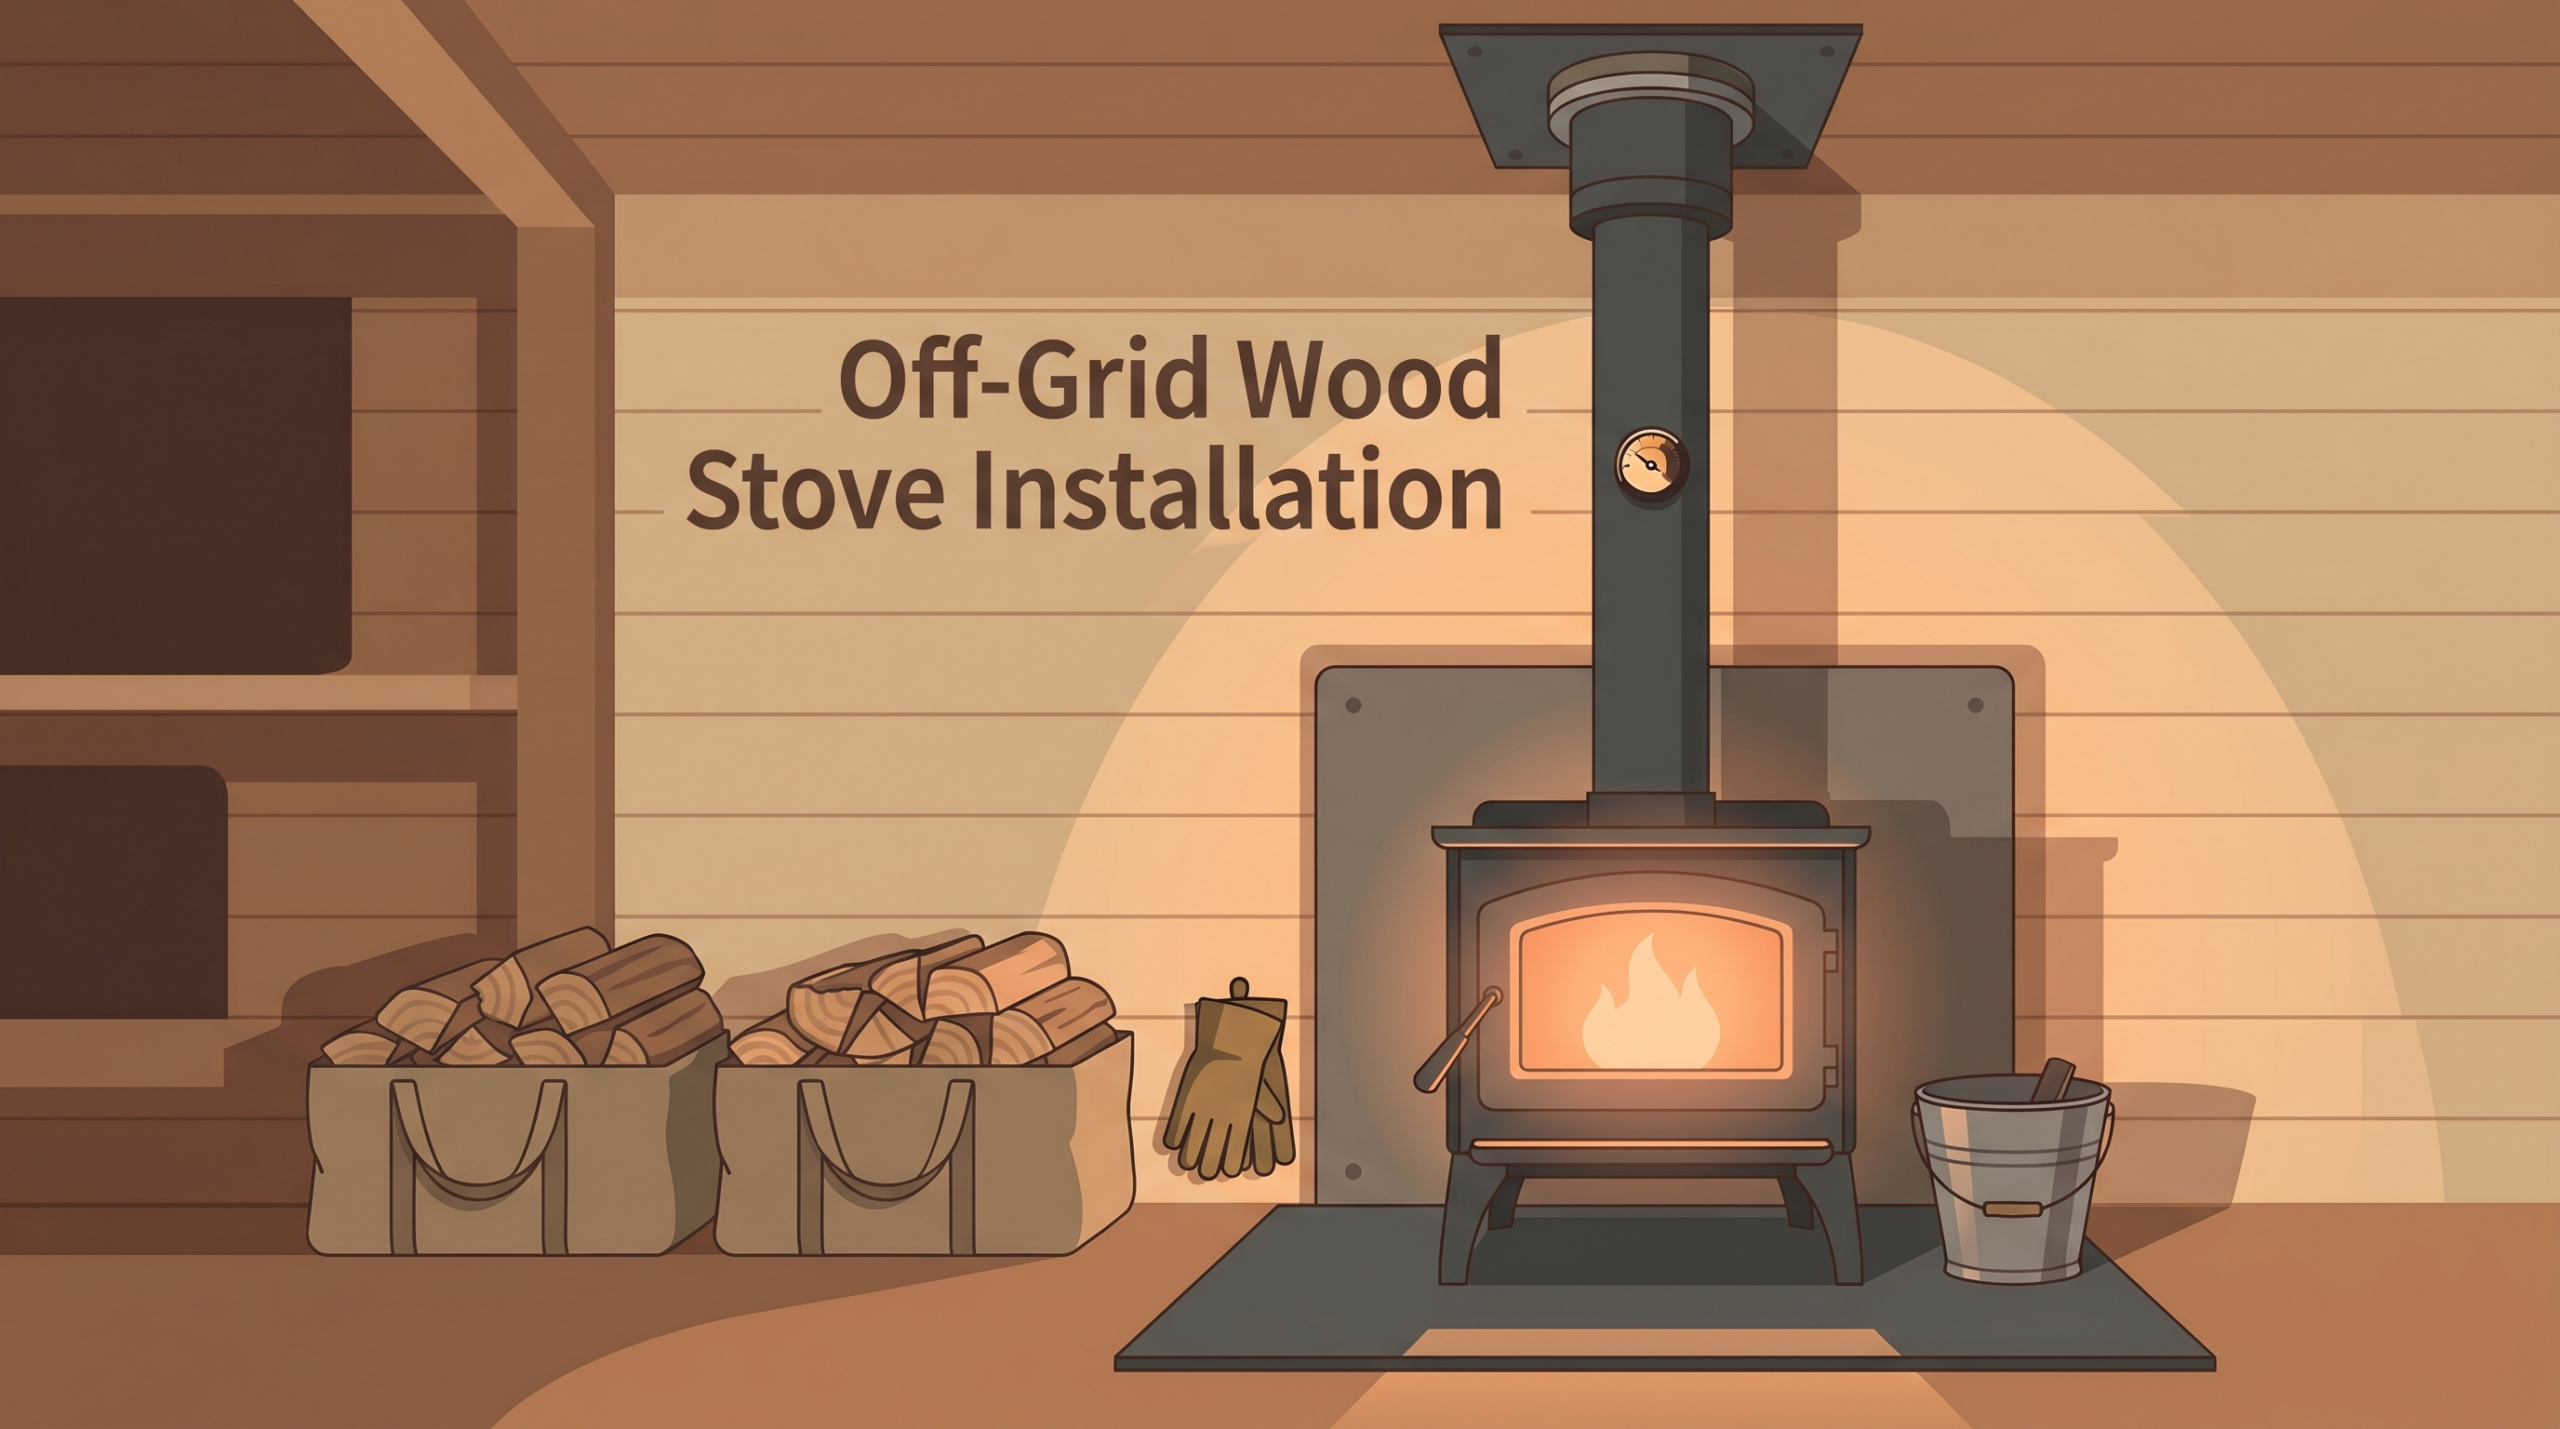
Budget for the small pieces too. A good ash bucket, stove gloves, magnetic thermometer, moisture meter, kindling storage, smoke detectors, carbon monoxide detectors, and a basic tool set are not luxuries. They are the everyday gear that keeps wood heat clean and manageable.
Where not to save money
Do not save money by mixing incompatible pipe brands, using unlisted chimney parts, skipping floor protection, or guessing at clearances. Used stoves can be fine, but used chimney pipe is often a poor bet unless you know exactly what it is and can verify condition.
Clearances and Floor Protection
Clearance is the required distance between the stove, pipe, or chimney and anything combustible. Combustible means more than curtains and firewood. Wood studs, paneling, trim, plywood, furniture, and some wall finishes count too.
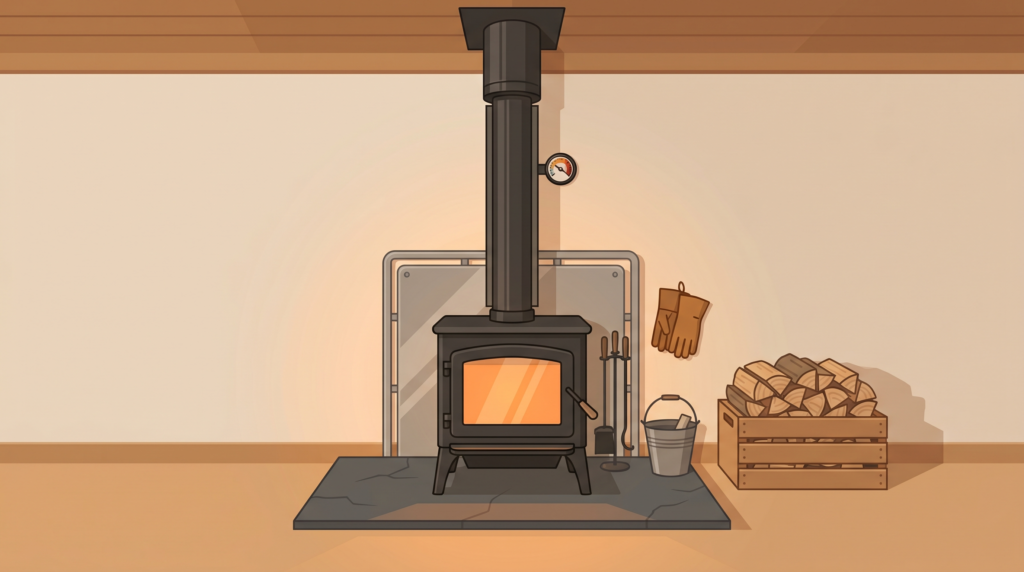
Your stove manual is the authority. It may list different clearances for single-wall stovepipe, double-wall stovepipe, corner installations, shielded walls, and alcoves. If the manual says 16 inches, that does not mean 12 inches is close enough because the cabin is small.
Floor protection matters too. A hearth pad protects against embers, heat transfer, and daily wear. Some stoves only require ember protection. Others require a specific insulation value. Again, the manual decides.
Heat shields are not decoration
A properly built heat shield can reduce clearances, but only when installed with the required air gap, noncombustible material, and open space for airflow. Screwing cement board directly to a wood wall is not the same thing as a listed or code-compliant heat shield.
The EPA’s Burn Wise program has a searchable woodstove database and background information that can help homeowners understand certified appliances and efficiency terms. Use that as research, not as a replacement for the stove manual and local code.
Chimney Planning: Straight, Tall, and Safe
The chimney is the engine of the stove. A weak chimney makes even a good stove frustrating. Smoke rollout, lazy fires, creosote, and hard starts often trace back to poor draft, wet wood, or a bad chimney layout.
In general, a straight vertical chimney drafts better than a long horizontal run with elbows. It also stays warmer, which helps reduce creosote. Interior chimneys usually perform better than exterior chimneys because they stay warmer in cold weather.
Plan the chimney before placing the stove. Look at roof rafters, ceiling joists, lofts, upstairs rooms, roof pitch, snow load, and how you will clean the system. The prettiest stove location may create a miserable chimney path.
Draft also changes with weather and cabin tightness. A stove that behaves perfectly on a calm afternoon may be fussy during wind, rain, or extreme cold. If the cabin is very tight, bath fans, range hoods, or clothes dryers can compete with the stove for air. That is another reason installation should be designed as a system, not just a pipe route.
Off-grid cabin details
Small cabins create special issues. Clearances can eat up floor space. Loft sleeping areas can get too hot. A stove near the only exit can be dangerous if something goes wrong. Tiny homes and cabins may need outside air or careful ventilation, depending on design and local rules.
Also think about wood storage. Keeping a few days of dry wood near the door is practical. Stacking a winter’s worth against the cabin wall invites moisture, pests, and fire risk.
If you are planning several core systems at once, our top off-grid essentials guide can help keep heat, water, power, and tools in the same conversation.
Permits, Insurance, and Inspections
Many rural homeowners are tempted to skip permits because “nobody will know.” That can backfire hard after a chimney fire, home sale, insurance inspection, or injury. Local requirements vary, but wood stoves often need permits, inspections, or proof of professional installation.
Call your building department and insurance company before installing. Ask what stove listings they accept, whether a permit is required, whether a professional installer is needed, and what documentation they want. Keep the manual, receipts, photos, and inspection records.
This is especially important on financed land or a cabin you may sell later. A clean paper trail can turn a nervous inspection into a simple conversation and protect the value of the work you paid for.
A certified chimney sweep can also inspect the setup before the first heating season. For off-grid homes far from town, schedule early. Everyone remembers chimney work in October.
Common Mistakes to Avoid
The first mistake is installing the stove before reading the manual. The manual is not extra paperwork. It is the installation plan.
The second mistake is using wet wood. Wet wood wastes heat, smokes more, and builds creosote faster. Split and stack firewood early, keep it off the ground, and cover the top while leaving the sides open for airflow.
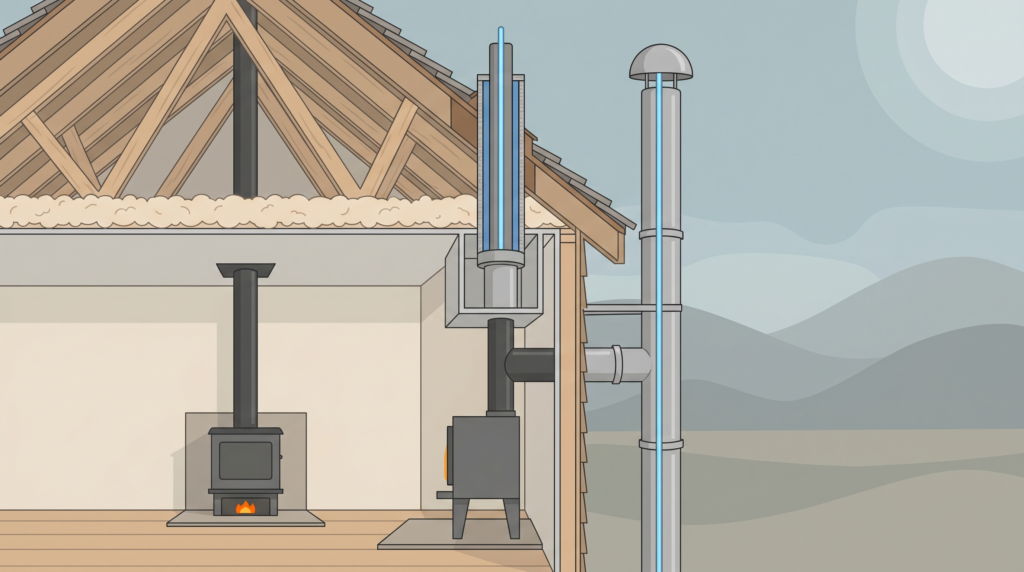
The third mistake is making the chimney path too complicated. Every elbow adds resistance. Every cold exterior section makes draft harder. Every shortcut becomes more annoying when the stove smokes on a windy night.
Other trouble spots include:
- Storing firewood too close to the stove.
- Using single-wall pipe where insulated chimney is required.
- Cutting roof holes before checking framing.
- Forgetting carbon monoxide detectors.
- Skipping annual chimney cleaning and inspection.
Conclusion
A wood stove is one of the best pieces of off-grid infrastructure you can install, but only when the whole system is treated with respect. Choose the right stove size. Use listed components. Follow clearances. Build a safe chimney. Burn dry wood. Keep records and inspections.
When the setup is right, wood heat is more than backup heat. It is steady, repairable, local energy that turns a cabin into a place you can trust in winter.
FAQ
Can I install a wood stove myself?
Some homeowners can install a wood stove, but local code, insurance, roof work, and chimney safety may require a professional. Always follow the stove manual and get required inspections.
How much does an off-grid wood stove installation cost?
Costs vary widely. The stove, chimney parts, hearth, permits, and labor can range from a modest DIY project to several thousand dollars, especially if the chimney route is complicated.
Do I need a permit for a wood stove in a cabin?
Often, yes. Requirements vary by county and state. Call the local building department and your insurance company before buying parts or cutting holes.
What is the safest chimney route?
A straight vertical chimney through the roof is often the best-performing and simplest option, provided it can be installed with correct clearances and listed components.
How often should a wood stove chimney be cleaned?
Inspect before each heating season and clean whenever creosote buildup is present. Heavy use, wet wood, and poor draft can require more frequent cleaning.