How to build a chicken coop for under $200: simple DIY guide for beginners
How to build a cheap chicken coop? Raising backyard chickens is one of the most rewarding parts of homesteading but building a chicken coop can be a costly first step. Luckily, with a little creativity and resourcefulness, it’s absolutely possible to build a secure, functional, and even attractive chicken coop for less than $200.

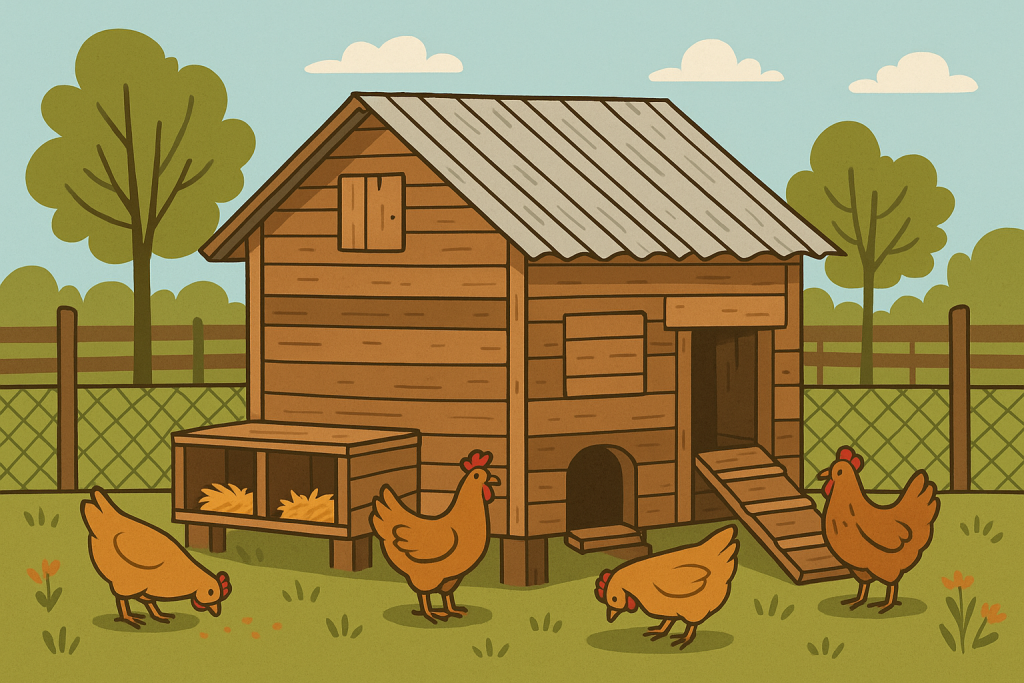
This guide will walk you through how to build a budget-friendly coop that keeps your hens safe and comfortable, using mostly reclaimed or inexpensive materials. No fancy tools or carpentry degree required.
What your chickens really need (and what they don’t)
Before gathering materials, it’s important to understand what a coop must provide:
- Protection from predators: raccoons, dogs, foxes, and hawks are all threats
- Shelter from weather: wind, rain, snow, and summer heat
- Ventilation: to keep the air fresh and reduce moisture buildup
- Space to roost and lay eggs: at least 2–3 square feet per bird inside the coop, and 8–10 square feet per bird in the run
- Nesting boxes: one box for every 3–4 hens
- Easy access for cleaning: don’t make it a nightmare to clean every week
Everything beyond that insulation, electricity, fancy windows, painted walls is optional. Focus on the essentials.
Step 1: Design a simple plan for your cheap chicken coop
For budget builds, simplicity is your friend. You don’t need a Pinterest-worthy miniature barn. A basic box-style coop works well for small flocks of 2 to 6 chickens.
Start by sketching a rough design. Aim for:
- 4×4 feet base (for 3–5 hens)
- Slanted roof (for water drainage)
- Access door (for you)
- Chicken door (with ramp)
- Ventilation slots under the roofline
- Attached run if free-ranging isn’t an option
If you’re using mostly salvaged materials, be ready to adjust the plan to what you can find.
Step 2: Gather cheap or free materials
This is where you can save the most money when thinking about about backyard chicken coop. Here are some smart sources:
- Shipping pallets: use them for framing, walls, even the floor
- Old furniture: bookshelves, dressers, or cabinets can become nesting boxes or wall panels
- Craigslist/Marketplace/Freecycle: search for free lumber, fencing, plywood
- Scrap yards: tin roofing, mesh, nails
- Construction sites: ask for discarded wood (with permission)
- Your own garage: old doors, hinges, tarps
Even if you need to buy some parts (like screws or chicken wire), the bulk of your build can come from reclaimed materials.
Step 3: Build the coop structure
Once you’ve gathered your materials, it’s time to build. Here’s a basic breakdown of the structure:
Floor and base
- Use 2–3 pallets joined together for a raised base
- Raise the coop off the ground 12–18 inches to protect from moisture and rodents
- Cover the base with plywood or scrap boards for a solid floor
Walls
- Frame out the walls with 2x4s or pallet boards
- Leave space for a human-sized door and a small chicken door
- Use plywood, old paneling, or fence boards to enclose the structure
- Install ventilation slots or screened openings under the eaves
Roof
- Use scrap tin roofing, shingles, or even a heavy-duty tarp
- Angle the roof so water runs off the back or side
- Secure it well to handle wind
Your coop doesn’t need to be perfect it just needs to be dry, draft-free, and secure.
Step 4: Add nesting boxes and roosts

Nesting boxes
You’ll need 1 nesting box for every 3–4 hens. You can make these out of:
- Plastic milk crates
- Wooden drawers
- 5-gallon buckets on their side
- Old shelves or cabinets
Line each with straw or shavings. Make sure the boxes are slightly elevated but lower than the roosts (to prevent nighttime sleeping in them).
Roosts
Chickens prefer to sleep on a perch. A sturdy branch, broom handle, or 2×2 board will do the trick. Place it about 18–24 inches above the ground with enough room for all your birds to perch comfortably.
Step 5: Build the run or fenced area
If your chickens won’t be free-ranging all day, they’ll need an enclosed run attached to the coop.
Materials:
- Chicken wire, welded wire, or hardware cloth
- Wooden posts or branches
- Zip ties or fencing staples
Minimum size: 8–10 square feet per bird.
Cover the top if predators (especially hawks or raccoons) are common in your area.
Tip: bury wire 6–12 inches underground or bend it outward at the base to stop digging predators.
Step 6: Budget-friendly finishing touches
Even with a tight budget, you can make the coop more functional and easy to maintain.
Cheap add-ons worth considering
- Latches and locks: basic slide bolts or carabiners work fine, and keep raccoons out
- Used hinges: salvage from old doors or cabinets
- Vinyl scraps or paint: leftover paint protects wood from rain and adds character
- Removable tray or scrap linoleum: makes cleaning faster and easier
- Recycled plastic containers: use them for feeders and waterers
Little touches like these won’t break the bank, but they’ll make a big difference in how easy the coop is to use.
Maintenance and daily use


A cheap coop still needs to be clean and secure. Keep up with a few simple tasks:
- Check the coop daily for any holes, loose boards, or signs of digging
- Refill food and water, and clean containers weekly
- Replace bedding every week or two to control smell and flies
- Collect eggs daily to prevent breakage or hens eating them
- Deep-clean the coop every few months with a scrub brush and mild cleaner
Good airflow and cleanliness help keep your flock healthy, even in a simple structure.
Mistakes to avoid when building on a budget
- Using flimsy materials for walls or doors: predators can rip through thin plastic or cheap fabric
- Skipping ventilation: lack of airflow leads to moisture, ammonia, and illness
- Making the coop too small: cramped birds get stressed, aggressive, and more prone to disease
- Not planning ahead: add a little space now so you don’t have to rebuild when your flock grows
Building cheaply doesn’t mean cutting corners on safety or comfort. It just means working smarter with what you have.
Example budget breakdown
| Item | Approx. Cost |
|---|---|
| Reclaimed pallets | Free |
| Plywood (used or offcuts) | $20–30 |
| Chicken wire (25 ft roll) | $30–40 |
| Screws, nails, hinges | $15–20 |
| Roofing material (scrap tin) | $0–20 |
| Nesting boxes (DIY) | Free |
| Paint/sealer (leftovers) | $0–10 |
| Locks and latches | $10–15 |
Total: around $150–$200, depending on what you can scavenge or repurpose.
Thoughts
You don’t need a big budget to give your chickens a safe, dry, and comfortable home. With a little creativity and effort, you can build a coop that does the job perfectly and feels even more satisfying because you made it yourself.
Start small. Use what you have. Build what you need. Over time, you can upgrade, add on, and improve things as you go. The most important thing is getting your chickens settled and safe everything else is just a bonus.